
FLOOR SANDING AND POLISHING
A well-sanded and polished floor can add significant value to your home, not to mention bringing life back to your existing floor.

Preparation for Sanding and Coating
If building or renovating, the start date for sanding and coating floors is critical, particularly in relation to other trades. Carpentry, electrical, plastering, plumbing and glazing must be completed before work on the floor can commence.
Any silicone or silicone based products which come into contact with the floor after sanding but prior to any of the three coats will cause rejection of the coating. Silicone is often found in footware such as work boots.
It is recommended that all painting except for the final coat on skirting boards be completed. The final coat can be applied to the skirting after completion of the floors. Carpets should be laid after the floors are finished.
Unless specifically agreed to and quoted for, all furniture should be removed together with all floor coverings including staples, tacks etc.
Preparation Tips for the Home Owner
- Use masking tape and paper to seal access areas such as fireplaces and vents that could allow dust to enter the room.
- Cover light fittings to prevent dust from gathering on them.
- Remove curtains or fold curtains into large garbage bags and seal at the top.
- Cover all non-movable furnishings using paper, drop sheets or plastic (using masking tape to secure)
When we are doing any type of sanding work in your home, we are careful to try to keep the dust to a minimum by using a dust bag on our machines and vacuuming up the immediate areas before coating the floor. There will still be a certain amount of dust released into the air. To avoid the inconvenience of heavy cleaning work in your home after the work is completed, we suggest that you hang clear plastic sheets at doorways or entrance ways to the other areas of your home and cover furniture with old sheets.
Sanding and finishing a beautiful timber floor is a skill acquired over many years. Please keep in mind that as all the work is done by hand controlled machines and applicators, there will be evidence of this in the floor. Furthermore, as you live on the floor, it will gain a character and feel that is unique to your home. This is all part of the beauty of owning a timber floor.


Tips to Consider
PLEASE DO NOT EXPECT:
A dust free environment - Modern sanding machinery is fitted with dust collecting equipment and sanders will endeavour to clean dust away by vacuuming and wiping down surfaces. It is virtually impossible however, to totally eliminate dust from the job which has a couple of consequences:
- There will always be some dust particles that settle on the newly finished surfaces.
- There will be an amount of dust throughout the rest of the house.
Removal of deep cuts such as those from carpet trimming knives or deep gouges in the boards.
Removal of stains from within the boards and around nail holes such as animal urine, water marks or black japan.
Filling of gaps between the boards - These gaps are not filled because subsequent shrinking and expansion in the timber will cause cracking in the filler.
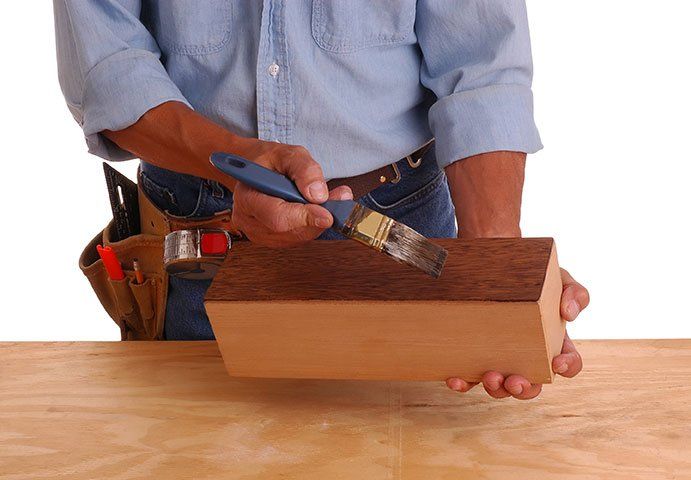
Floor Finishes
SOVLENT POLYURETHANES
These are the most common polyurethanes used today. Available in matt, satin & gloss.
WATER-BASED POLYURETHANES
More environmentally friendly and faster drying, essentially allowing faster job completion. Available in satin and gloss.
DECKING OILS AND STAINS
Used on external decks because they last longer than straight oil finishes. Available in a satin finish.
Download our Catalogue Today


COPYRIGHT © 2022 CORK INTERIORS / ALL RIGHTS RESERVED.